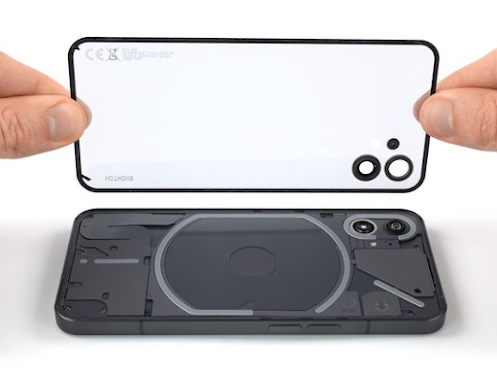
Nothing Phone (1) Rear Glass Replacement Guide
You can almost see it happen in slow motion: the moment your smartphone is in your hand, and the next thing you know it, it's tipping toward the ground at a plunging pace. Sometimes the glass and plastic layers will hold up, but this often results in chipped, cracked, or damaged phone screens. Today, phonefix takes NothingPhone as an example to share with you the replacement guide for the rear glass of Nothing Phone.
Step 1 Heat the rear glass
Prepare an iOpener and apply it to the rear glass for at least two minutes to loosen the adhesive underneath.
Step 2 Insert an opening pick
Secure a suction handle to the bottom edge of the rear glass, as close to the edge as possible.
Lift the rear glass with the suction handle to create a small gap between the back cover and the frame.
Insert an opening pick into the gap you created.
Slide the opening pick to the bottom right corner to slice the adhesive.
Leave the opening pick in place to prevent the adhesive from resealing.
Step 3 Slice the adhesive
Insert a second opening pick at the bottom edge of your phone.
Slide the opening pick to the bottom left corner to slice the adhesive.
Leave the pry opening tool in place to prevent the adhesive from resealing.
Insert a third opening pick at the bottom left corner of your phone.
Slide the opening pick along the left edge of your phone to slice the adhesive.
Leave the opening pick in the top left corner to prevent the adhesive from resealing.
Insert a third opening pick at the bottom left corner of your phone.
Slide the opening pick along the left edge of your phone to slice the adhesive.
Leave the opening pick in the top left corner to prevent the adhesive from resealing.
Step 5
Insert a fourth opening pick underneath the top left corner of your phone.
Slide the opening pick along the top edge to slice the adhesive.
Leave the opening pick in the top right corner to prevent the adhesive from resealing.
Step 6
Insert a fifth opening pick underneath the top right corner.
Slide the opening pick along the right edge of the rear glass to slice the remaining adhesive.


Comments
Post a Comment